EXODUS® Web3 Wallet®

Your Complete Guide to Getting Started with Exodus™ Wallet – Secure, Manage, and Explore Your Crypto Assets and Web3 Opportunities Effortlessly.

Step 1: Download & Install Exodus Wallet

To begin, download Exodus® Wallet from the official website. It supports Windows, Mac, Linux, iOS, and Android, ensuring seamless cross-device experience.

Follow these steps to install safely:

  • Visit Exodus Download Page.
  • Choose your operating system and click Download.
  • Run the installer and follow the on-screen instructions.
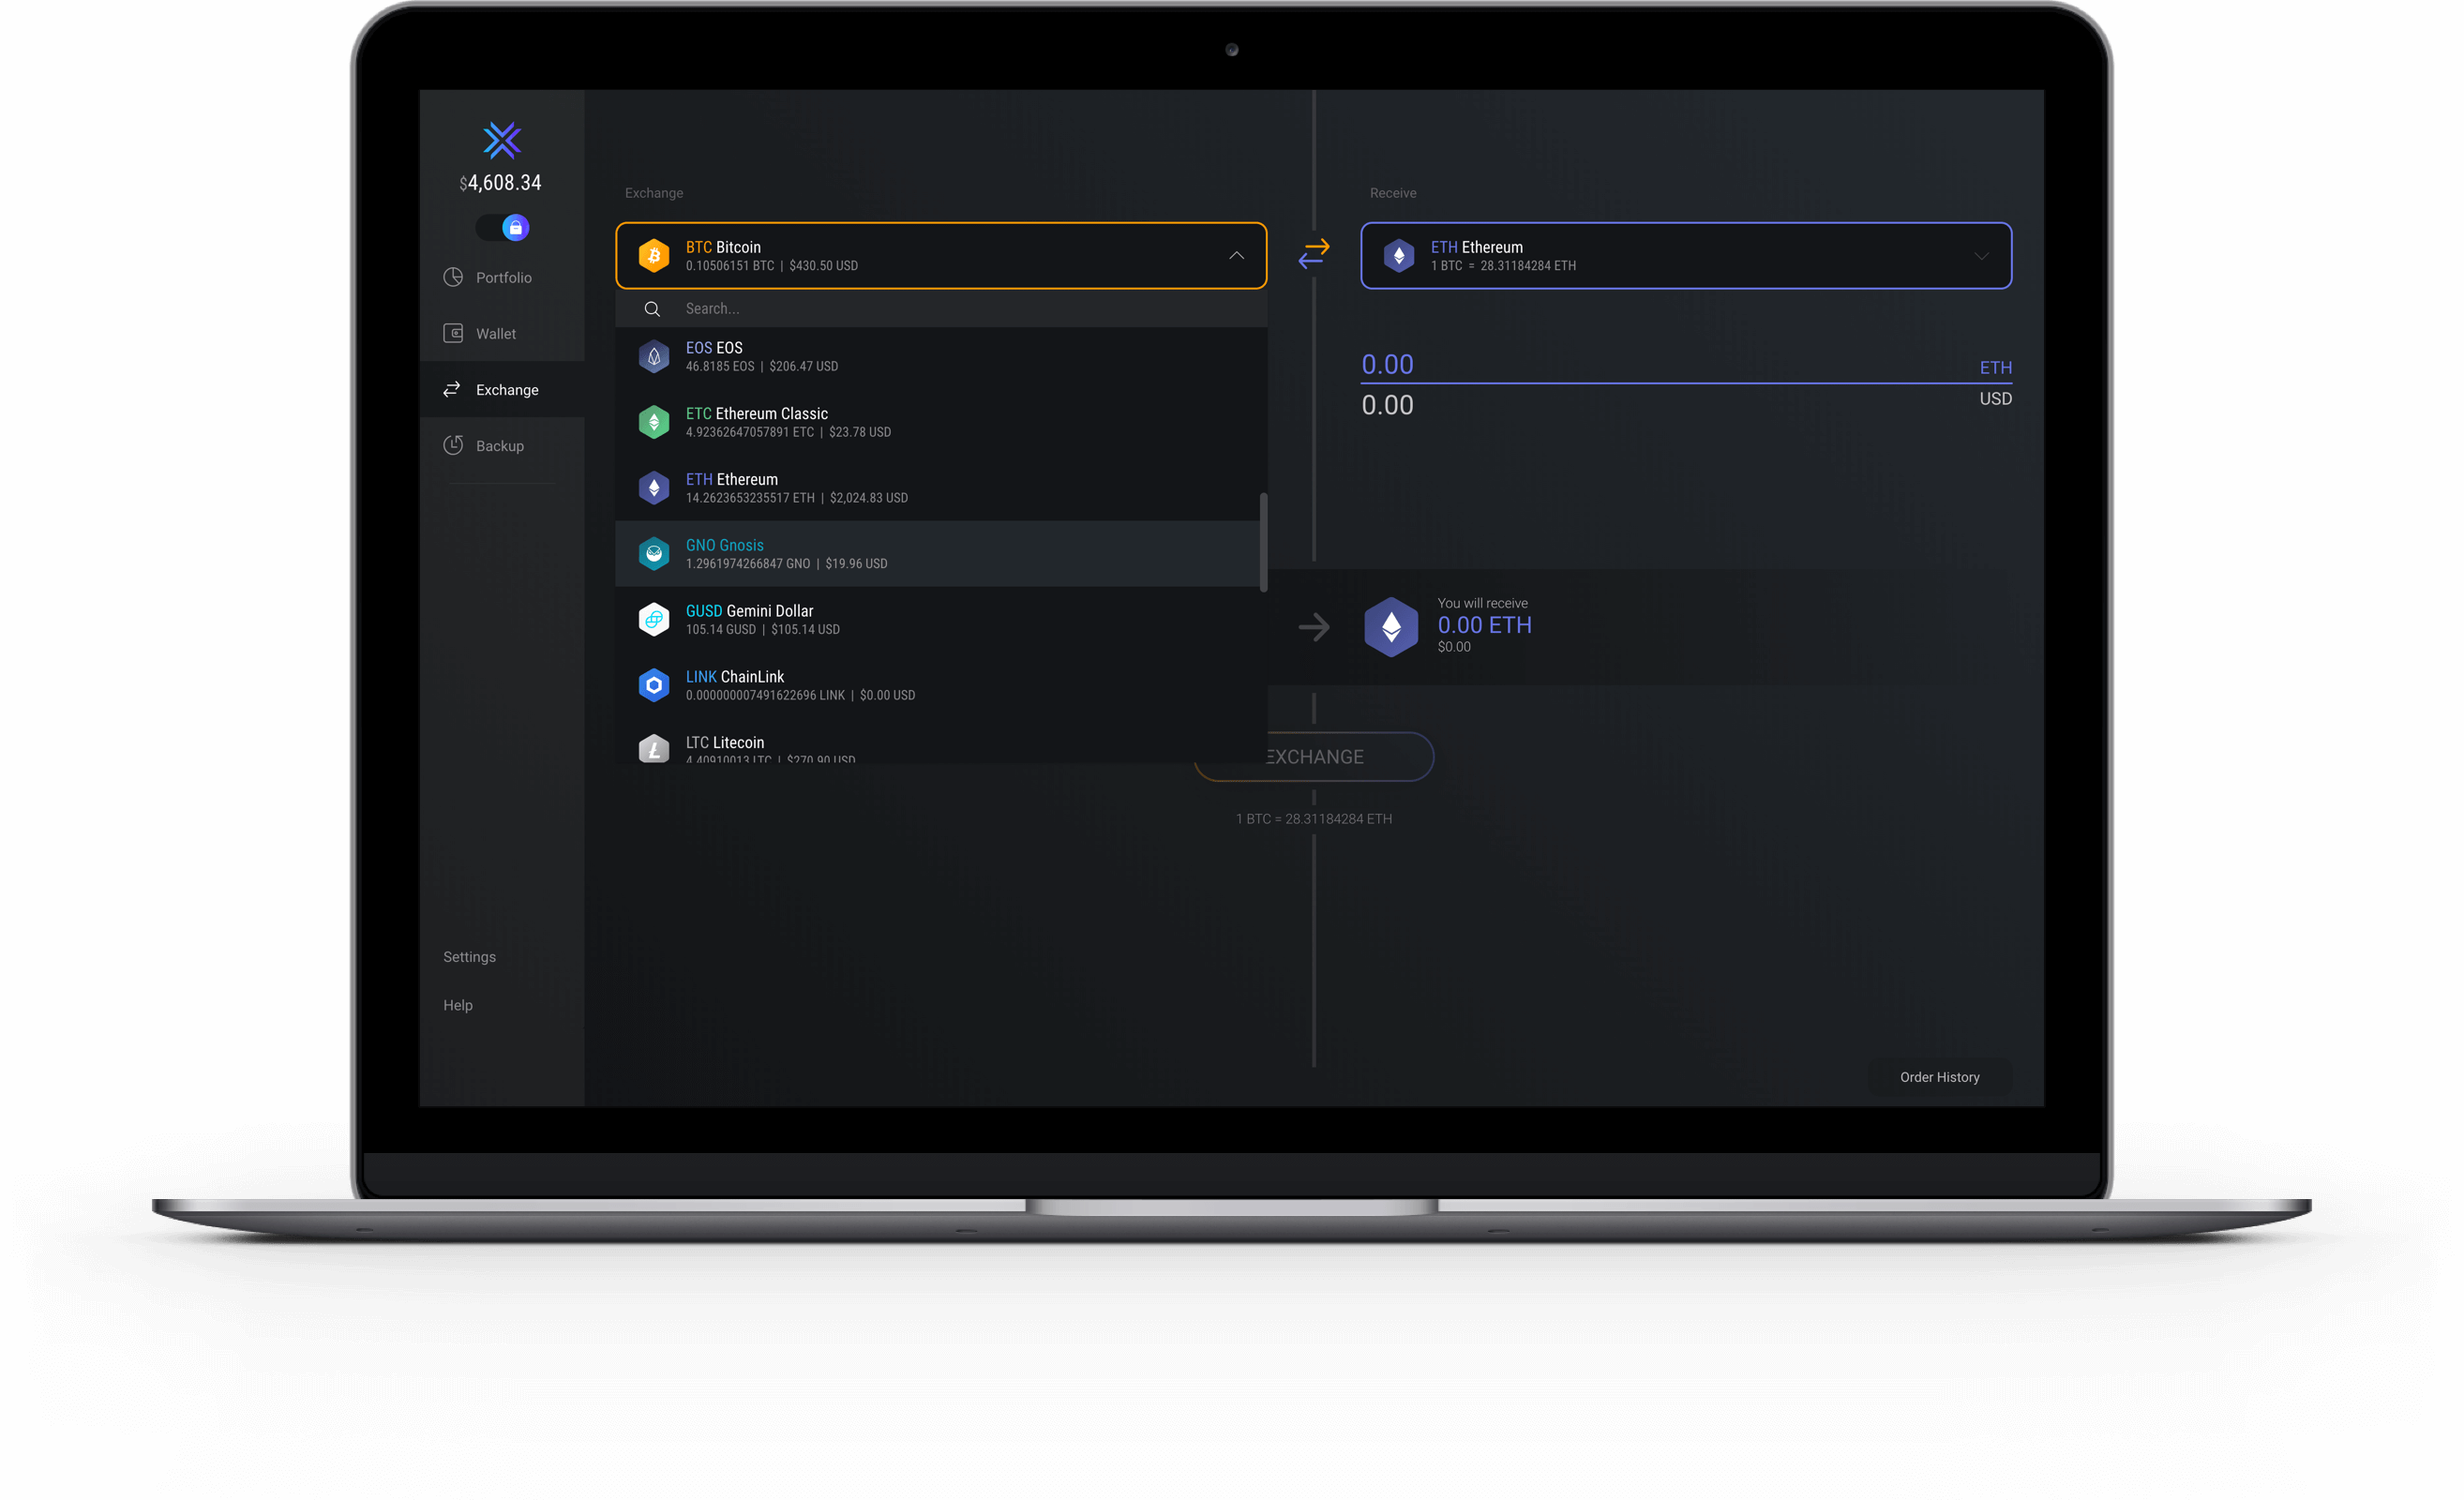
  • Open Exodus Wallet after installation to begin setup.
Download Now
Download Exodus Wallet

Step 2: Create Your Wallet

After installing Exodus, you can create a new wallet. Protect it with a strong password and backup your 12-word recovery phrase. This ensures your assets are safe in case of device loss or failure.

  • Click Create New Wallet in Exodus.
  • Set a strong password combining letters, numbers, and symbols.
  • Write down your recovery phrase on paper; store it offline securely.
  • Never share your recovery phrase online or with anyone.

Proper backup ensures that you can always regain access to your assets.

Create Exodus Wallet

Step 3: Add Cryptocurrencies

Exodus supports over 300 crypto assets. Adding your preferred cryptocurrencies is simple:

  • Navigate to the Wallet tab.
  • Click Add More to select the cryptocurrencies you wish to manage.
  • Once added, you can send, receive, or exchange crypto directly within the wallet.

Exodus provides live price tracking and portfolio overview, so you can easily monitor your holdings.

Add Crypto Assets

Step 4: Secure Your Wallet

Security is the cornerstone of safe crypto management. Exodus Wallet comes with built-in encryption and backup tools to safeguard your assets.

  • Enable two-factor authentication (2FA) if available.
  • Keep Exodus updated with the latest version.
  • Store your recovery phrase offline, preferably in multiple secure locations.
  • Consider pairing Exodus with a hardware wallet for high-value assets.

Following these practices ensures your crypto remains protected from unauthorized access.

Wallet Security

Step 5: Explore Web3 Features

Exodus Wallet isn’t just for storing crypto—it connects you to the Web3 ecosystem. Engage with decentralized applications (dApps), manage NFTs, and participate in blockchain games directly.

  • Use the built-in dApp browser to access decentralized services.
  • Manage NFTs and collectibles directly from your wallet.
  • Stake supported crypto assets to earn rewards.
  • Track Web3 opportunities with portfolio analytics.
Explore Web3 Features
Web3 Features

Step 6: Exchange & Manage Portfolio

Exodus allows seamless crypto exchanges within the wallet. Swap between assets instantly without external exchanges.

  • Navigate to the Exchange tab.
  • Select the asset you want to exchange and the asset you want to receive.
  • Review rates and confirm the swap.
  • Track your overall portfolio performance in real-time.

This internal exchange feature saves time and reduces reliance on third-party platforms.

Exchange Crypto

Step 7: Troubleshooting & Support

If you encounter issues, Exodus offers detailed guides and responsive customer support:

  • Visit the Exodus Support Center.
  • Use in-wallet support chat for quick guidance.
  • Check FAQs for common questions and troubleshooting steps.
  • Keep wallet backups current to prevent loss during technical issues.

Exodus support is available 24/7 to assist with any wallet-related concerns.

Wallet Support

EXODUS® Web3 Wallet® | Getting Started Exodus™